Roster Type Options
In order to pre-set the options for service categories, first you must access the Appointments screen.
To learn how to do this, read our "How Do I Access The Appointments Admin Screen?" user guide.
From this screen, then navigate across to the Service Category tab.
Adding A New Roster Type
To add a new roster type, click on the "Add new roster types" button as shown.

Once you have filled out the required information (marked by an asterisk), click Save & Exit.
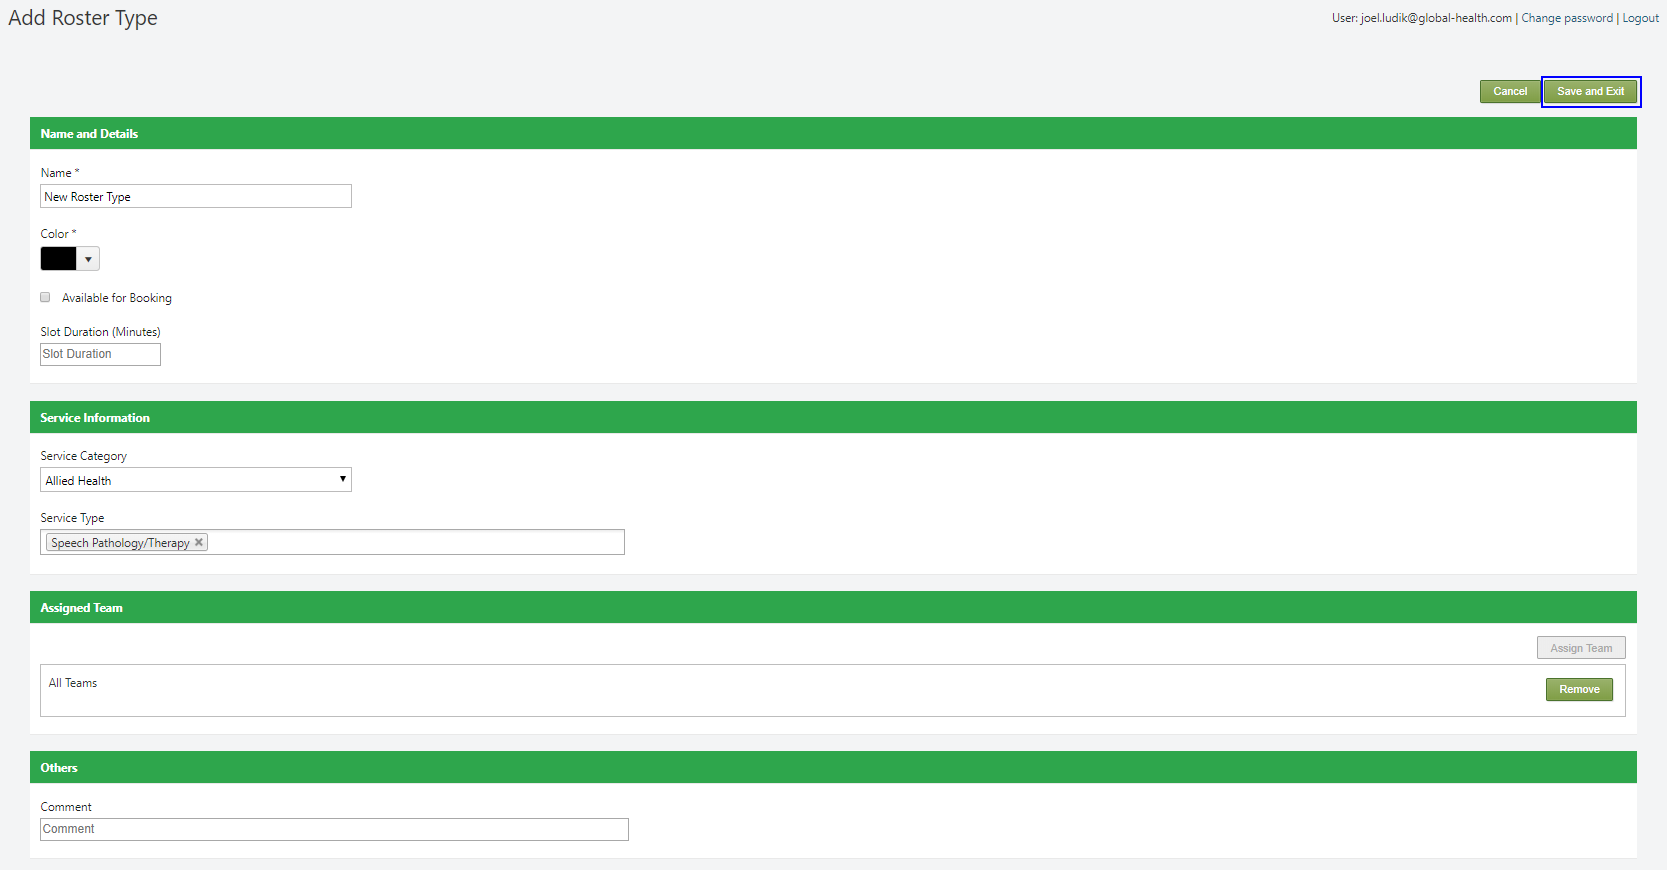
You have now added a new roster type!
Editing A Roster Type
In order to edit an existing roster option, start by clicking on Edit.

This will then open the Edit Roster Type screen:

Once you have made your changes and filled out all the required information (marked by an asterisk), click on the Save & Exit button to return to the roster types screen.
Deleting A Roster Type
In order to delete a roster type, select a roster type and then click on the Remove button as shown.
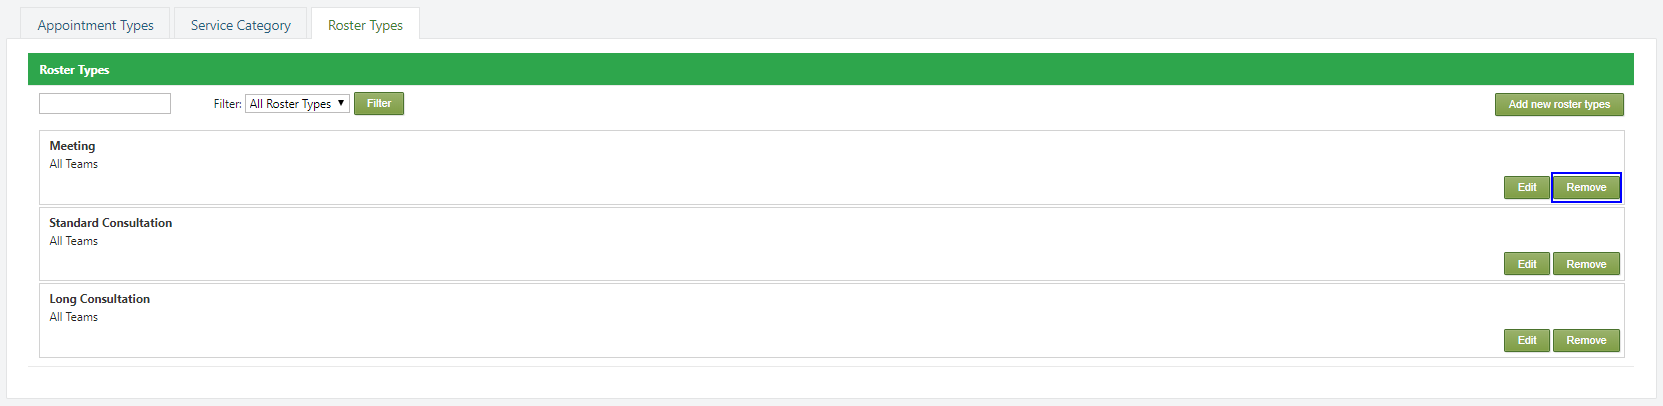
A pop-up window will then appear asking you to confirm you would like to delete the roster type.
Click OK.

You have now learned how to pre-set the options for roster types!
Comments
0 comments
Article is closed for comments.